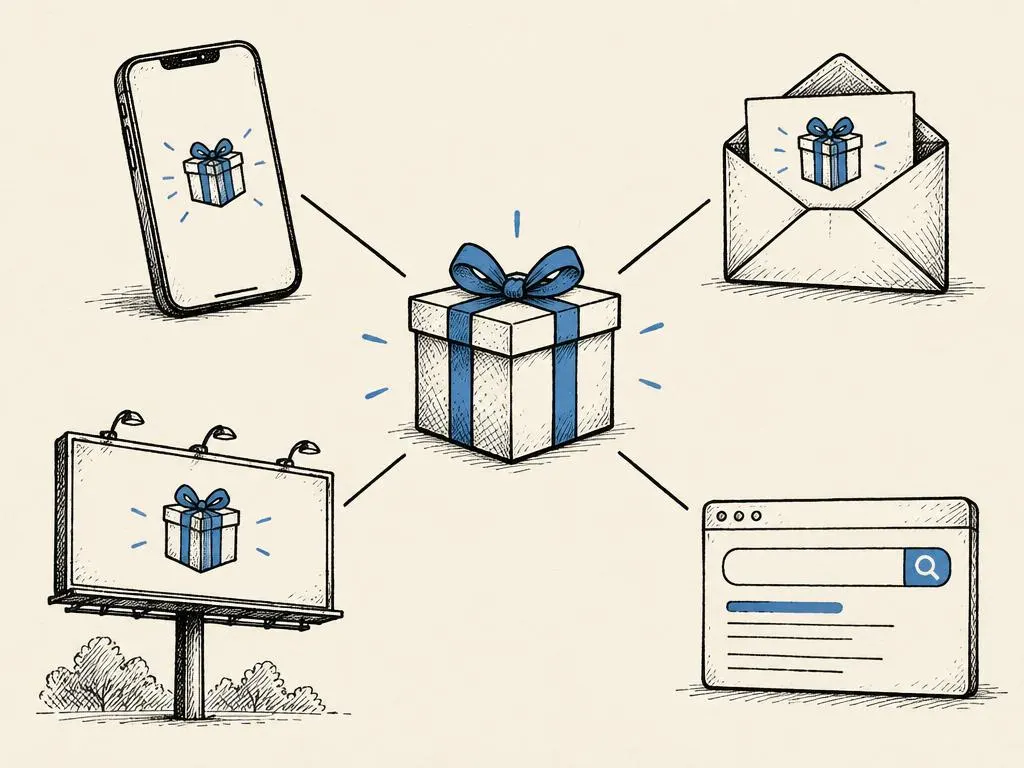
A cross-channel campaign is simply a coordinated effort where the same offer and message appear across more than one channel, rather than each channel running its own disconnected activity. For a first attempt, 'cross-channel' does not mean a dozen platforms and a paid media budget. It means picking two or three touchpoints that work together, with one consistent message, and running the whole thing in a way you can actually measure.
This lesson builds on the ideal customer profile and the fundamentals of planning a funnel. If you have not yet defined who you're targeting and what a basic marketing funnel looks like, those lessons will make the campaign below far easier to execute with confidence.
Step 1: Pick one audience and one offer
Before touching any channel, decide exactly who this campaign speaks to and what you are offering them. 'Offer' can mean a product discount, a free consultation, a lead magnet such as a guide or checklist, or simply an invitation to book a call. The offer should solve a real problem for the specific audience segment you've chosen, not a generic pitch meant to appeal to everyone.
Resist the temptation to run a campaign for two audiences at once early on. A single, well-defined audience makes every later decision, the hook, the email subject line, the landing page copy, much easier to write well.
Step 2: Choose a small, coordinated set of touchpoints
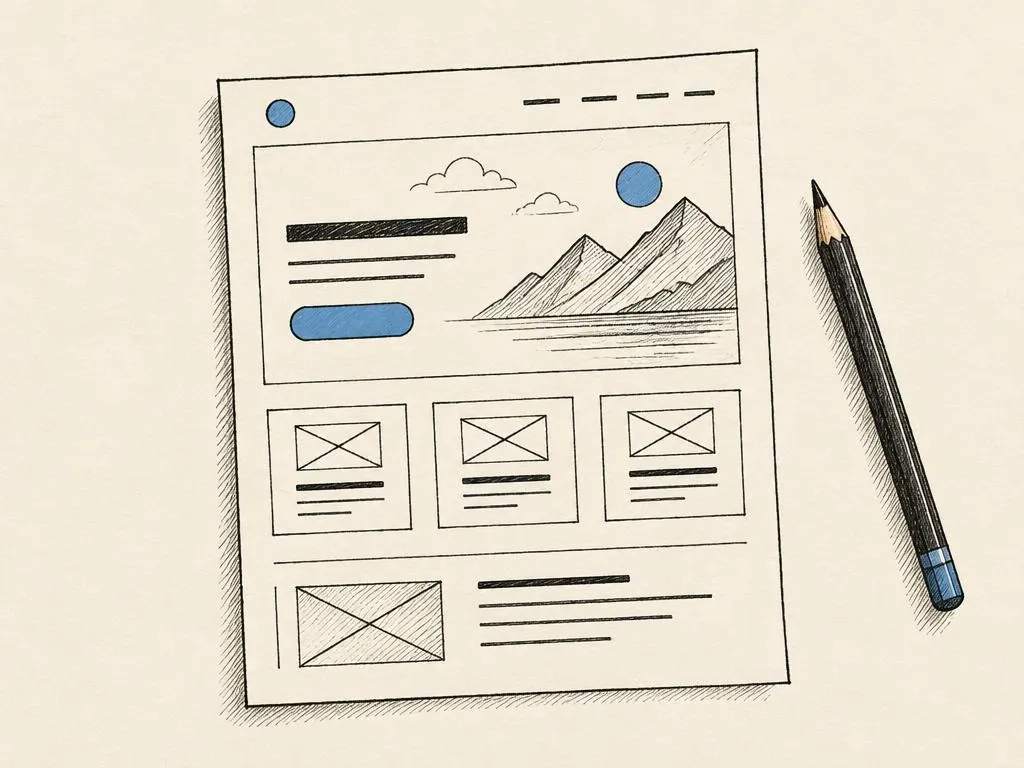
For a first campaign, three touchpoints are usually enough: one organic social post that creates awareness, one email to your existing list that drives action, and one landing page that captures the result (a signup, a booking, a sale). Each touchpoint has a distinct job; none of them should try to do everything.
Optional paid distribution
Once the organic version works, you can optionally boost the social post or run a small paid campaign pointing at the same landing page to extend reach. This is optional, not required, for a first campaign; adding paid media before you've validated the message with organic reach and existing contacts usually means paying to find out what a quick organic test could have told you for free.
Step 3: Keep the message and labels consistent
The single biggest difference between a 'campaign' and a pile of disconnected posts is consistency. Use the same headline idea, the same offer description, and ideally the same visual style across the social post, the email, and the landing page, so a person who sees more than one touchpoint recognizes it as the same thing.
Equally important, and easy to skip, is using consistent tracking so you know afterward which channel actually drove results. A simple approach is appending a distinct UTM parameter (a short tag added to a link, such as utm_source=email or utm_source=instagram) to each channel's link to the landing page, so your analytics tool or even a manual form field can separate email-driven visits from social-driven visits.
Step 4: Define success before you launch
Decide, in writing, what this campaign needs to achieve to count as useful, before you launch. This might be '20 email signups' or '5 booked consultations in two weeks.' Having this number written down beforehand prevents the common trap of retroactively deciding any result was 'pretty good.'
Step 5: Build a simple calendar
A cross-channel campaign fails most often from poor timing, not poor ideas, for example an email going out a week after the social post it was meant to reinforce. Map every touchpoint onto a simple calendar with exact dates before launch.
| Day | Touchpoint | Action |
|---|---|---|
| Day 1 | Social post | Publish announcement post with tracked link |
| Day 2 | Send to full list with matching headline and tracked link | |
| Day 7 | Social follow-up | Reminder post or story with urgency (offer ends in 7 days) |
| Day 13 | Email reminder | Final-call email to non-openers and non-clickers |
| Day 14 | Close + review | Offer ends; begin compiling results by source |
Step 6: Run the review
After the campaign window closes, gather the numbers by source: how many visits, signups, or sales came from each tracked link, alongside your original target. Then write three short notes: what worked, what you'd change, and what you'll test next. This review is what turns one campaign into a repeatable, improving process rather than a one-off event.
Your campaign brief, calendar, and results sheet
- Write one sentence defining the audience and one sentence defining the offer
- Choose two to three touchpoints, each with a distinct, non-overlapping job
- Draft consistent messaging and visuals used across every touchpoint
- Add distinct UTM tags or another tracking method to each channel's link
- Write down the specific success metric and the review date before launch
- Build a day-by-day calendar covering publish dates for every touchpoint
- After the window closes, record results by source and write a short review
Common mistakes
- Running every channel with slightly different messaging so the campaign doesn't feel coordinated.
- Skipping tracking tags, which makes the post-campaign review a guess rather than evidence.
- Choosing five or six channels for a first attempt instead of two or three that can realistically be done well.
- Not setting a success metric until after seeing the results, which invites hindsight bias.
- Adding paid distribution before the organic message and offer have been validated.
When this is not the right tactic
If you only have one viable channel right now, for example a brand-new business with no email list and no social following yet, a cross-channel campaign is premature; focus first on building at least a small owned audience or a single working channel before coordinating several. Similarly, if the offer itself has not been validated (nobody has expressed interest in it before), a multi-channel launch risks amplifying a message that doesn't resonate rather than testing it efficiently; a smaller single-channel test is more appropriate first.