Meta Ads (the advertising system behind Facebook and Instagram) can feel overwhelming the first time you open it, because the interface exposes many options at once: objectives, audiences, placements, budgets, creative formats. The good news is that the underlying structure is simple and stable, even as individual screens and labels change over time. This article walks through that structure, what you need before you start, and how to prepare and launch a first campaign without guessing.
The three-level account structure
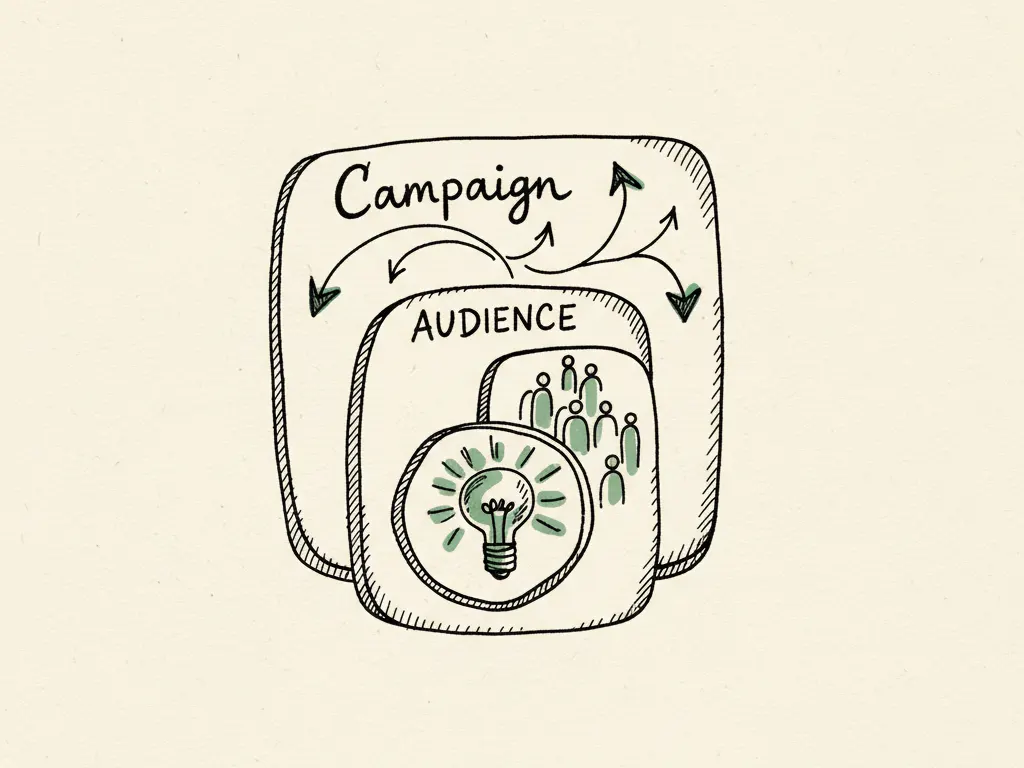
Every Meta Ads account is organized into three nested levels. Understanding this structure prevents a lot of early confusion.
- 1Campaign: sets the overall objective (for example, driving leads, sales, or traffic)
- 2Ad set: defines the audience, budget, schedule, and placements for that objective
- 3Ad: the actual creative (image, video, or carousel) and the copy the audience sees
A single campaign can contain multiple ad sets, and a single ad set can contain multiple ads. This lets you test different audiences or creative without rebuilding the whole campaign, but it also means unnecessary fragmentation (too many ad sets with tiny budgets) can hurt delivery, since each ad set needs enough volume to exit the early learning period efficiently.
Prerequisites before you open Ads Manager
Before building a campaign, confirm these pieces are in place. Exact screen names vary by account type and region, so verify the current flow in your own account rather than assuming.
- A Meta Business Portfolio (sometimes called a Business Manager) that owns your ad account, Page, and any pixel or dataset you plan to use.
- A Facebook Page connected to your business, since most ad formats require one even if your focus is Instagram.
- A verified payment method attached to the ad account.
- The right permissions for anyone working in the account, assigned at the Business Portfolio level rather than shared logins.
- A destination for traffic: a website page, a lead form, a WhatsApp or Messenger thread, or an app, depending on your objective.
Choosing a real business objective
Meta groups campaign objectives around outcomes such as awareness, traffic, engagement, leads, app promotion, and sales. Rather than picking whichever sounds most impressive, choose the objective that matches what you can actually fulfil. A service business booking consultations usually wants a leads-oriented objective tied to a form or call. An ecommerce store usually wants a sales-oriented objective tied to purchase events on its site. Confirm the exact objective names and the conversion locations available to your account before you commit, since these have changed over past platform updates and continue to evolve.
Preparing your destination and creative
A common first-campaign mistake is building the ad before confirming the destination works. If you're sending traffic to a landing page, load it on mobile data, check the load time, and confirm the headline on the page matches the promise in the ad. If you're using a lead form, read through every question and confirm your team has a process to follow up quickly. For creative, prepare at least two variations (different hooks or formats) so your first ad set is not relying on a single untested piece of creative.
Billing and permissions, conceptually
Meta Ads typically charges the payment method on file based on delivery (impressions or actions, depending on your settings), on a recurring or threshold basis that you should confirm in your account's current billing settings. Before spending real money, check who has admin access to the ad account and payment settings, and set a daily or lifetime budget you're comfortable monitoring, since the account will spend up to that ceiling automatically once the ad set is active.
Your first-campaign preparation and launch checklist
- Confirm Business Portfolio, Page, payment method, and permissions are all set up
- Choose one objective that matches a real, fulfillable business outcome
- Confirm the destination (landing page, form, or messaging thread) works and loads well on mobile
- Prepare at least two creative variations with distinct hooks
- Set a budget you are prepared to monitor and learn from, not a guessed industry figure
- Note the date you launch, and set a calendar reminder to review results after a defined window
- Verify current objective names and conversion locations directly in Ads Manager before publishing
Common mistakes
- Building ad sets before confirming the destination page or form actually works.
- Splitting a small budget across many ad sets, which starves each one of enough data to leave the learning phase.
- Choosing an objective based on what sounds impressive rather than what the business can fulfil.
- Assuming a specific minimum budget applies to every business, when affordability depends on margins and average order or client value.
- Treating the first campaign as final rather than as a small, reviewable test.
When this is not the right tactic
If your business has no way to quickly follow up with leads or fulfil a sudden increase in orders, launching paid traffic before fixing that operational gap can create a worse customer experience than not advertising at all. Similarly, if you have no clear audience understanding yet (see the ideal customer profile lesson), spending on Meta Ads before that groundwork is likely to produce unfocused results. In those cases, it is usually better to fix the groundwork first and treat this guide as a reference for when you are ready.
Where to go next
Once your first campaign is live, the next step is understanding how to choose between objectives and structure your account as it grows, followed by learning how the Meta Pixel and Conversions API connect your website activity back to the ad account.