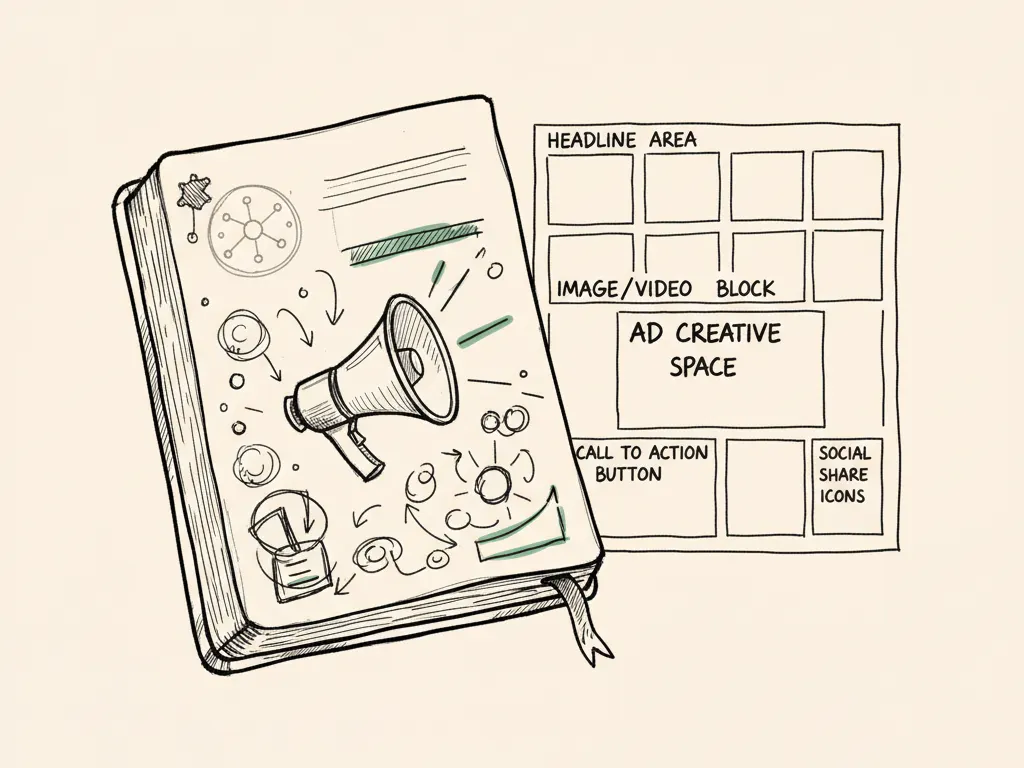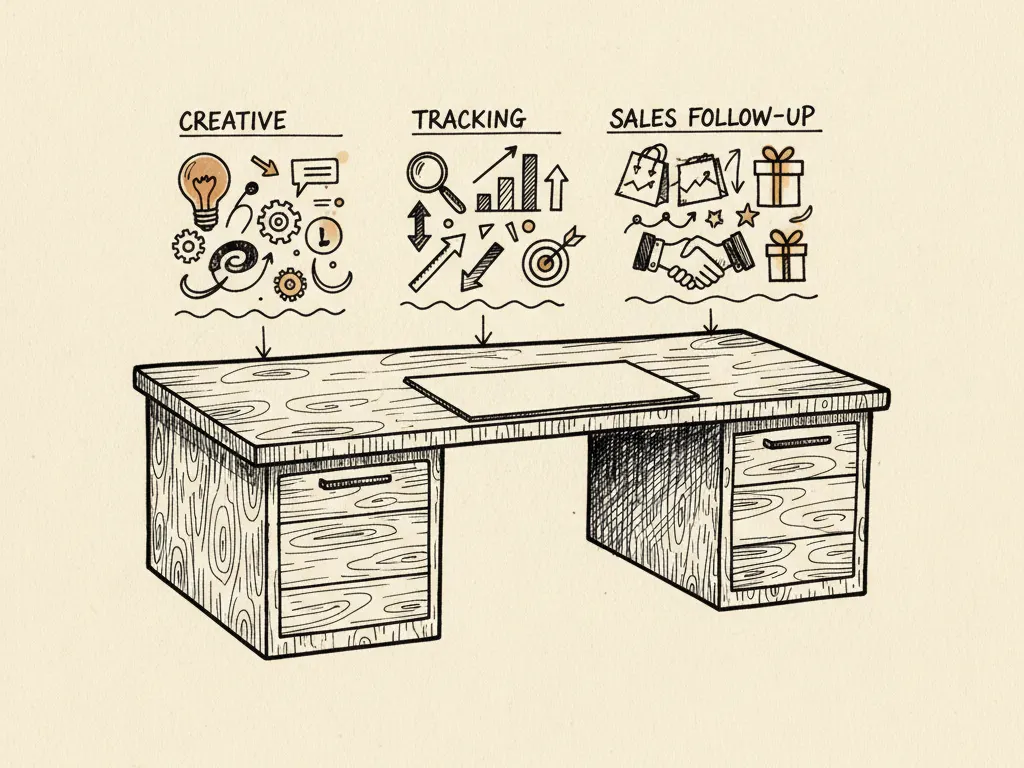
A beginner Meta Ads tutorial walks you through clicking buttons inside Ads Manager. This playbook assumes you already know the basic setup and instead treats a campaign launch as what it actually is: a coordination exercise across offer, tracking, creative, budget, and sales, where a weak link in any discipline can sink an otherwise well-targeted campaign.
Why campaigns fail at the coordination layer, not just the targeting layer
It is common to see a campaign with reasonable targeting and a modest budget still produce disappointing results, not because the audience was wrong, but because the landing page didn't match the ad promise, the tracking wasn't firing correctly, or leads sat unanswered for three days before anyone from sales called them. Those failures look like 'the ads aren't working' but are actually failures in cross-functional coordination.
- 1Offer and destination: confirm what you're promoting and where traffic lands
- 2Access and tracking: confirm ad account access, pixel/Conversions API, and event setup
- 3Audience and creative: prepare targeting options and creative assets, with at least two variations
- 4Budget and structure: set campaign budget, bidding approach, and campaign/ad set structure
- 5QA: preview ads, test the destination on mobile, and verify tracking fires a test event
- 6Launch and first review: set a review date (commonly 3-7 days) and define contingency actions
- 7Sales follow-up: confirm lead response time and handoff process before traffic arrives
Step 1: Offer and destination
Before touching Ads Manager, confirm exactly what is being promoted (a specific product, a lead magnet, a booking) and where the click lands. The destination page should match the ad's promise closely: if the ad promises a free consultation, the landing page headline should restate that offer within the first screen, not bury it under generic company messaging.
Step 2: Access and tracking
Confirm who has admin access to the ad account, Business Manager, and the relevant pixel or server-side event setup (such as Meta's Conversions API). Verify that the conversion event you plan to optimize for (for example, a lead form submission or purchase) is firing correctly using Meta's event testing tools, before spending any budget. This is the single most skipped step and the most common cause of a campaign that looks 'broken' when it is actually just unmeasured.
Step 3: Audience and creative
Prepare your targeting approach (which may include broad targeting with strong creative signals, depending on current Meta recommendations, which you should verify at launch time) and at least two to three creative variations so you are not relying on a single ad to prove or disprove the campaign. Each creative should have a clear hook, a specific offer, and a visible call to action.
Step 4: Budget, structure, and QA
Set a budget you can sustain for your planned test window (commonly at least a week, long enough for the platform's delivery system to optimize and for you to collect a meaningful sample), and document your campaign and ad set structure so a teammate could understand it without you explaining verbally. Before launch, preview every ad on mobile and desktop, click through to the destination personally, and confirm the destination loads quickly and the conversion event fires in testing.
Step 5: Launch, review, and contingency
Launch with a specific review date already on the calendar, not an open-ended 'let's see how it goes.' At the review, look at delivery (is the campaign spending and reaching people), relevance signals, cost per result, and critically, what happens to leads after they convert: are they being contacted quickly and converting to sales conversations. Define contingency actions in advance: what you'll do if cost per result is too high, if delivery is too low, or if leads are coming through but sales isn't converting them.
Launch operating plan (your deliverable)
- Offer and destination confirmed and matched (owner: marketing lead)
- Ad account access, pixel/Conversions API, and test events verified (owner: tracking/technical owner)
- Audience approach and 2-3 creative variations prepared (owner: creative/media buyer)
- Budget, campaign structure, and bidding approach documented (owner: media buyer)
- QA pass: mobile preview, destination load test, conversion event test (owner: QA/second reviewer)
- Sales follow-up process and response-time target agreed before launch (owner: sales lead)
- Review date and contingency actions documented before launch (owner: marketing lead)
Common mistakes
- Launching before confirming tracking fires correctly, then diagnosing performance from unreliable data.
- Mismatched offer between ad creative and landing page, which increases cost per result and lowers conversion.
- No agreed sales follow-up time, so qualified leads go cold before anyone responds.
- Relying on a single ad creative with no variation to compare against.
- Scaling budget before the first review date instead of waiting for a meaningful sample of results.
When this playbook is not the right tactic
If you are running a very small, informal test with negligible budget purely to learn the platform mechanics, this full cross-functional playbook may be more process than the situation needs; a simpler beginner setup guide is more appropriate. This playbook is built for launches with real budget and business consequences, where a coordination failure would be costly.
Next steps
Use the checklist above as a literal launch document for your next campaign, with named owners next to each line. Review it after your first launch and adjust: most teams find that tracking verification and sales follow-up are the two steps most often skipped under time pressure, and the two most worth protecting.